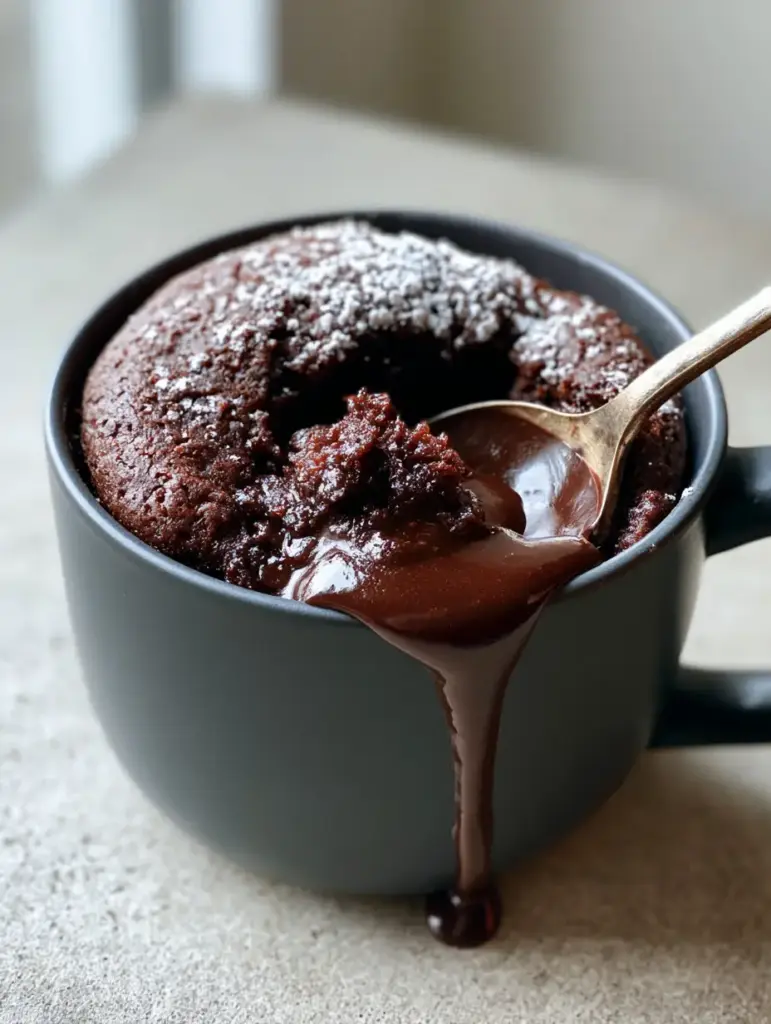
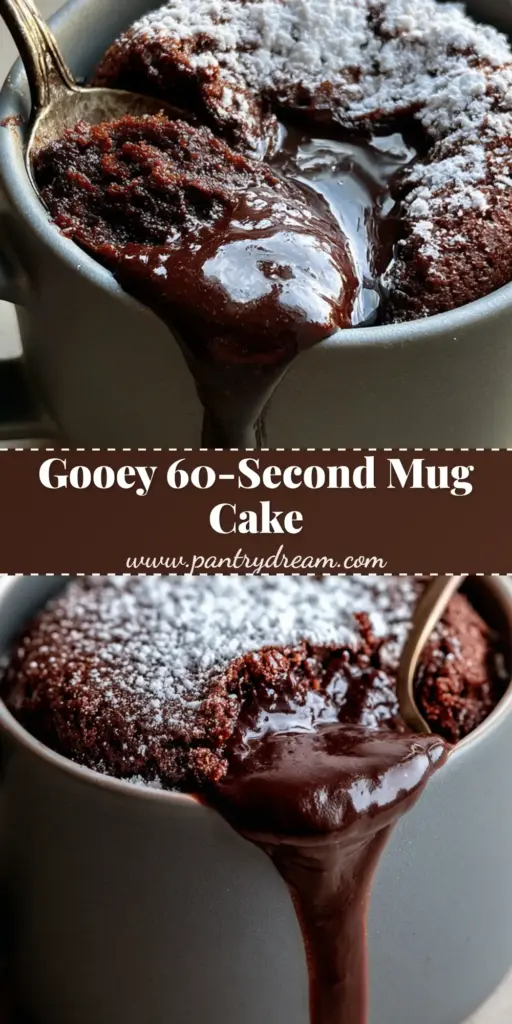
There is nothing quite like the sight of a molten lava mug cake captured in its most decadent state. Imagine a sleek, modern matte ceramic mug resting on a cool concrete tabletop, catching the soft glow of morning light from a nearby window.
As your spoon breaks through the moist, fluffy surface, a thick and glossy stream of chocolate begins to ooze down the side of the cake. This isn’t just a quick snack; it is a scientifically engineered dessert designed for maximum satisfaction with minimal effort.
Whether you are craving a late-night treat or a quick afternoon pick-me-up, this recipe delivers a restaurant-quality experience in the time it takes to brew a cup of coffee. Let’s dive into the mechanics of the perfect microwave bake.
The Irresistible Appeal of This Gooey Microwave Masterpiece
Achieving the perfect molten lava mug cake requires a delicate balance between a structured sponge and a liquid interior. This recipe is designed to bridge that gap with forensic precision.
- Textural Contrast: You get a light, airy chocolate sponge that perfectly complements the heavy, velvet-like chocolate core.
- Visual Sophistication: The contrast of a fine powdered sugar dusting against a dark chocolate cake creates a professional aesthetic.
- Gourmet Flavor: By using high-quality cocoa and a hidden chocolate center, we avoid the “rubbery” texture common in microwave baking.
- Instant Gratification: From pantry to table in under five minutes, making it more convenient than traditional campfire treats.
The Essential Pantry Staples for a Perfect Lava Core
To recreate the visual of a glossy, oozing center, we must select ingredients that behave predictably under high-intensity microwave radiation. Each component serves a specific structural or flavor-based purpose.
All-Purpose Flour: 1/4 cup (30g). This provides the essential gluten structure that traps steam, allowing the cake to rise around the molten center.
Unsweetened Cocoa Powder: 2 tbsp (15g). A high-quality Dutch-processed cocoa ensures a deep, dark color and a rich “brownie” flavor profile.
Granulated Sugar: 2 tbsp (25g). Beyond sweetness, sugar interferes with gluten development to keep the crumb tender and moist.
Baking Powder: 1/4 tsp (1g). This chemical leavener reacts instantly to heat, providing the “fluffiness” described in our visual blueprint.
Whole Milk: 3 tbsp (45ml). The fat and protein in whole milk contribute to a richer mouthfeel compared to water or skim alternatives.
Neutral Oil or Melted Butter: 2 tbsp (30ml). Fat is non-negotiable for a moist result; it coats the flour proteins and prevents a dry, bready texture.
Vanilla Extract: 1/2 tsp (2.5ml). This acts as a flavor structuralist, amplifying the natural notes of the cocoa powder.
The “Lava” Element: 1 large chocolate truffle or 1 oz (28g) of high-quality dark chocolate. This is the secret to that thick, glossy flow that gently moves when scooped.
Powdered Sugar: 1 tsp (5g). This is used for the final fine dusting, providing the high-contrast visual finish required for an elite presentation.
The Physics of the Perfect Matte Ceramic Mug
The vessel you choose is just as important as the ingredients. For a molten lava mug cake, a modern matte ceramic mug is ideal because it retains heat evenly without overheating the exterior too quickly.
A standard 12 oz (350ml) mug provides enough vertical height for the cake to rise without overflowing. If you use a mug that is too wide, the lava core may sink and spread, losing that iconic “scoop and flow” effect.
Ensure your mug is microwave-safe. Thinner porcelain may heat up too quickly, leading to “hot spots” that can overcook the delicate chocolate sponge and turn it rubbery.
A Step-by-Step Guide to Achieving That Signature Ooze
1. Creating the Base Emulsion
In your matte ceramic mug, whisk together the flour, cocoa powder, sugar, baking powder, and a tiny pinch of salt. Use a small fork to ensure there are no clumps of cocoa, which can lead to bitter pockets in the finished cake.
2. Integrating the Liquids
Add the milk, oil, and vanilla extract. Stir until the batter is smooth and glossy. You should hear a slight “squelching” sound as the fork incorporates the air—this is a sign your batter is well-emulsified.
3. Engineering the Molten Core
Place your chocolate truffle or dark chocolate piece directly into the center of the batter. Do not stir it in. Gently push it down until it is just covered by the batter. This ensures the “lava” stays trapped in the center of the sponge.
4. Precision Microwaving
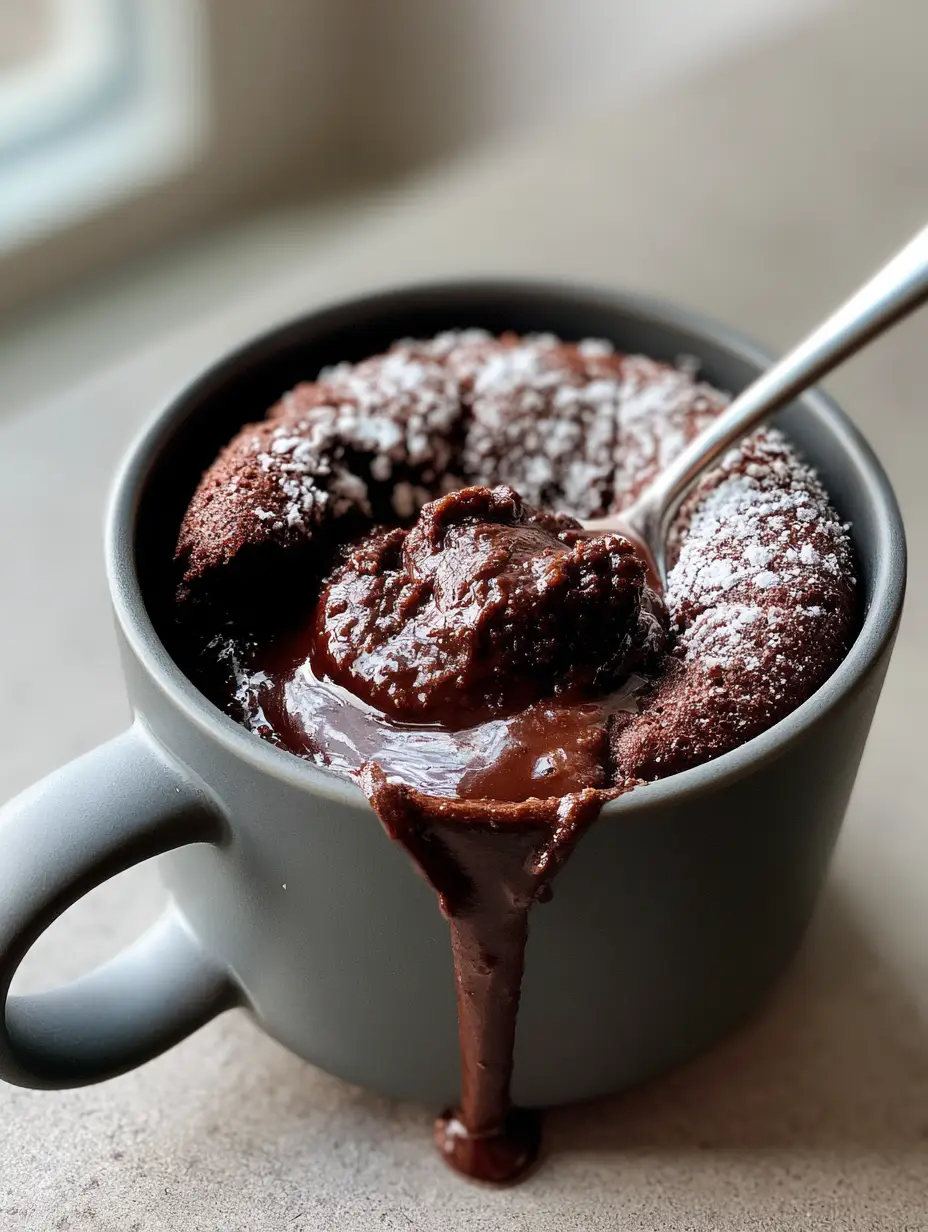
Microwave on high for 70 to 90 seconds. Look for the “Visual Cue”: The edges should look set and matte, while the center should still look slightly damp and shiny. If you overbake, the lava will solidify into the cake wall.
5. The Finishing Flourish
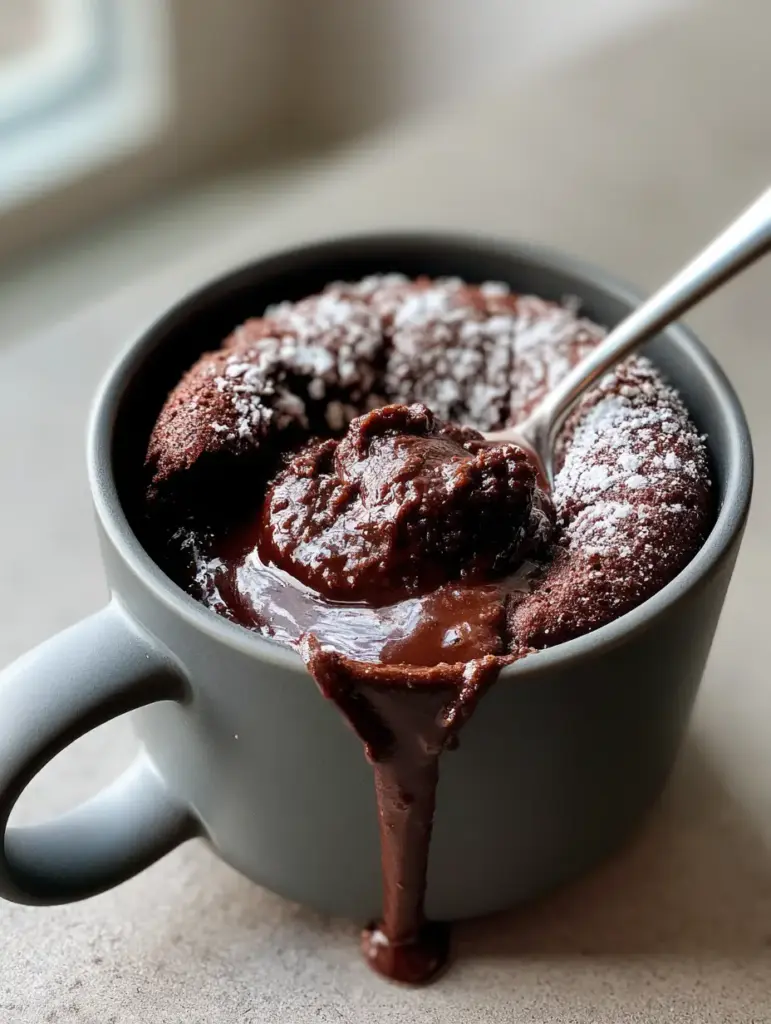
Let the mug sit for 1 minute—this is crucial for the structure to set. Dust lightly with powdered sugar through a fine-mesh sieve. The white sugar against the dark, moist cake mimics the high-contrast aesthetic of professional food photography.
Expert Tips for Success with Microwave Baking
- Wattage Awareness: Every microwave is different. Start at 70 seconds and check for a slight jiggle in the center; if it’s too liquid, add 10-second increments.
- Sifting is Key: For that “fine powdered sugar dusting,” use a small sieve rather than a spoon to avoid clumps.
- The Resting Phase: Never skip the 60-second rest. This allows the internal steam to redistribute, ensuring a moist crumb rather than a soggy one.
- Oil vs. Butter: While butter tastes better, oil stays liquid at room temperature, resulting in a significantly more “moist” cake if you don’t eat it within the first two minutes.
Why Temperature Matters for the Liquid Center
The “glossy oozing molten chocolate” effect is a result of the chocolate center melting at a lower temperature than the cake crumb sets. If the center doesn’t flow, it’s usually because the microwave was too powerful, cooking the core before the cake could rise.
If you prefer a more protein-heavy start to your day before indulging in dessert, consider our Greek yogurt waffles which offer a similar fluffy texture with a different nutritional profile.
What to Serve With Your Molten Lava Mug Cake
While this molten lava mug cake is a star on its own, it pairs beautifully with other treats. If you are hosting a small gathering, it serves as a wonderful quick dessert after a meal of marinated steak kabobs or a light pasta primavera.
For a drink pairing, the deep chocolate notes are elevated by the tartness of a blackberry coconut pink drink. The contrast between the hot, oozing chocolate and a cold, refreshing beverage is a sensory delight.
Storage and Reheating Advice
Mug cakes are designed for immediate consumption. Due to the rapid nature of microwave baking, the moisture evaporates quickly once the cake cools. We do not recommend storing this in the fridge for more than 12 hours.
If you must reheat, do so in 15-second bursts with a teaspoon of water sprinkled on top to restore moisture. However, for the best “molten” experience, it is always better to mix a fresh batch.
Common Questions About Microwave Chocolate Cakes
Yes, you can substitute the all-purpose flour with a 1:1 gluten-free flour blend. The result remains moist and chocolatey.
You can, but milk provides fat and protein that result in a much richer, more ‘cake-like’ flavor and texture.
The secret is placing a solid piece of chocolate or a truffle in the center of the batter without stirring it. This melts into a ‘lava’ while the surrounding cake sets.
A 12 oz ceramic mug is best. It provides enough space for the cake to rise and insulates the batter evenly for a consistent bake.
Rubbery texture is usually caused by overcooking or using too much flour. Microwave in shorter bursts and ensure you use a neutral oil to keep the crumb tender.
The Ultimate Molten Lava Mug Cake Recipe Card
Molten Lava Mug Cake: The Ultimate 2-Minute Chocolate Fix
Ingredients
Equipment
Method
- In a 12 oz matte ceramic mug, whisk flour, cocoa, sugar, and baking powder until no lumps remain.
- Stir in milk, oil, and vanilla until the batter is smooth and glossy.
- Push the chocolate piece into the center of the batter until covered. Do not stir.
- Cook on high for 70-90 seconds until the edges are set but the center remains slightly shiny.
- Let rest for 1 minute, then dust with powdered sugar using a fine-mesh sieve.
Notes
Check your microwave wattage; 1000W takes exactly 75 seconds for a perfect ooze.
Closing Thoughts on This Quick Culinary Indulgence
Mastering the molten lava mug cake is about understanding the intersection of timing and temperature. By following these professional cues—from the matte finish of the mug to the precise placement of the chocolate core—you can create a dessert that looks like it came from a high-end bistro.
If you enjoyed this recipe, please leave a comment below and let us know how your molten center turned out! Be sure to follow us on Pinterest for more visually stunning recipes like our favorite gluten-free snacks.